To all.. Well this weekend has been productive. I have gotten some small things done but the main tasks completed are the bathroom walls are up and secured and the front door is now stained and I think that although it is unique it looks AWESOME!
To all.. Well this weekend has been productive. I have gotten some small things done but the main tasks completed are the bathroom walls are up and secured and the front door is now stained and I think that although it is unique it looks AWESOME!
So school is out and now the Tiny Home had to move. So my sister and my friend and I made a convoy of vehicles to move the Tiny Home from my school to the plumbers business. The owner was willing to let me put the Tiny Home there while it gets the plumbing, electricity and HVAC done. I am also able to work on the house while it is being worked on by the contractors.
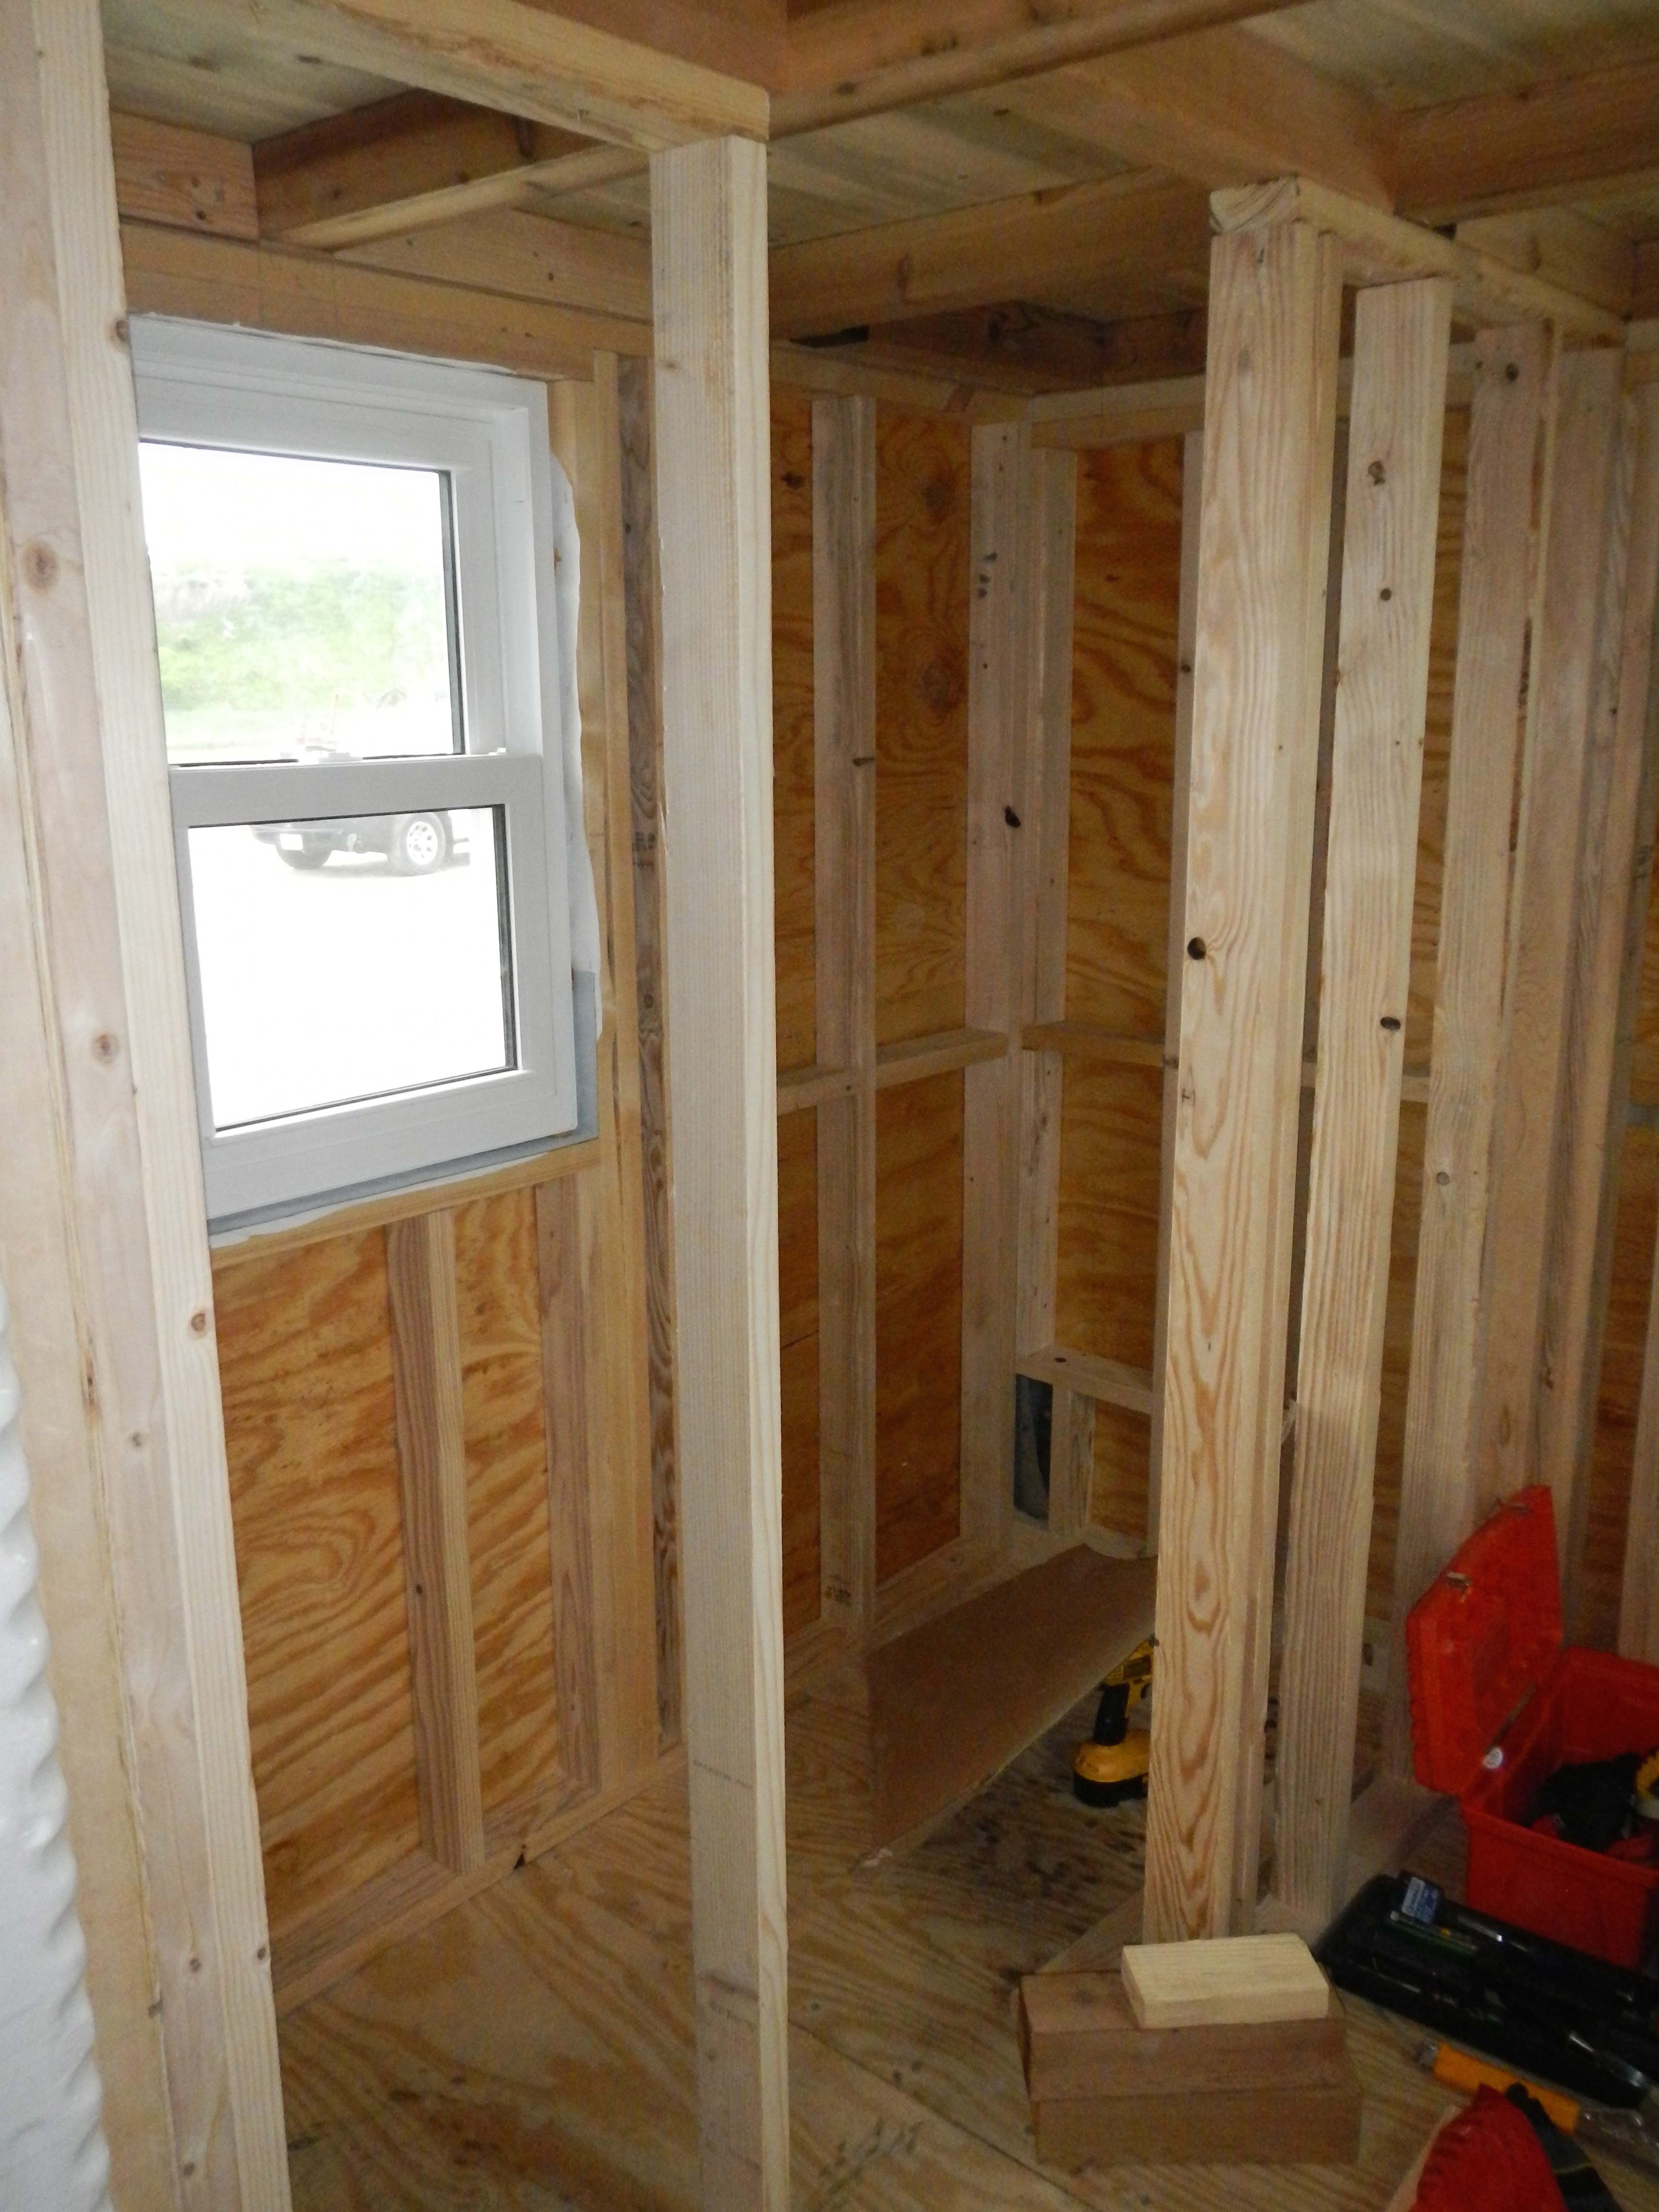
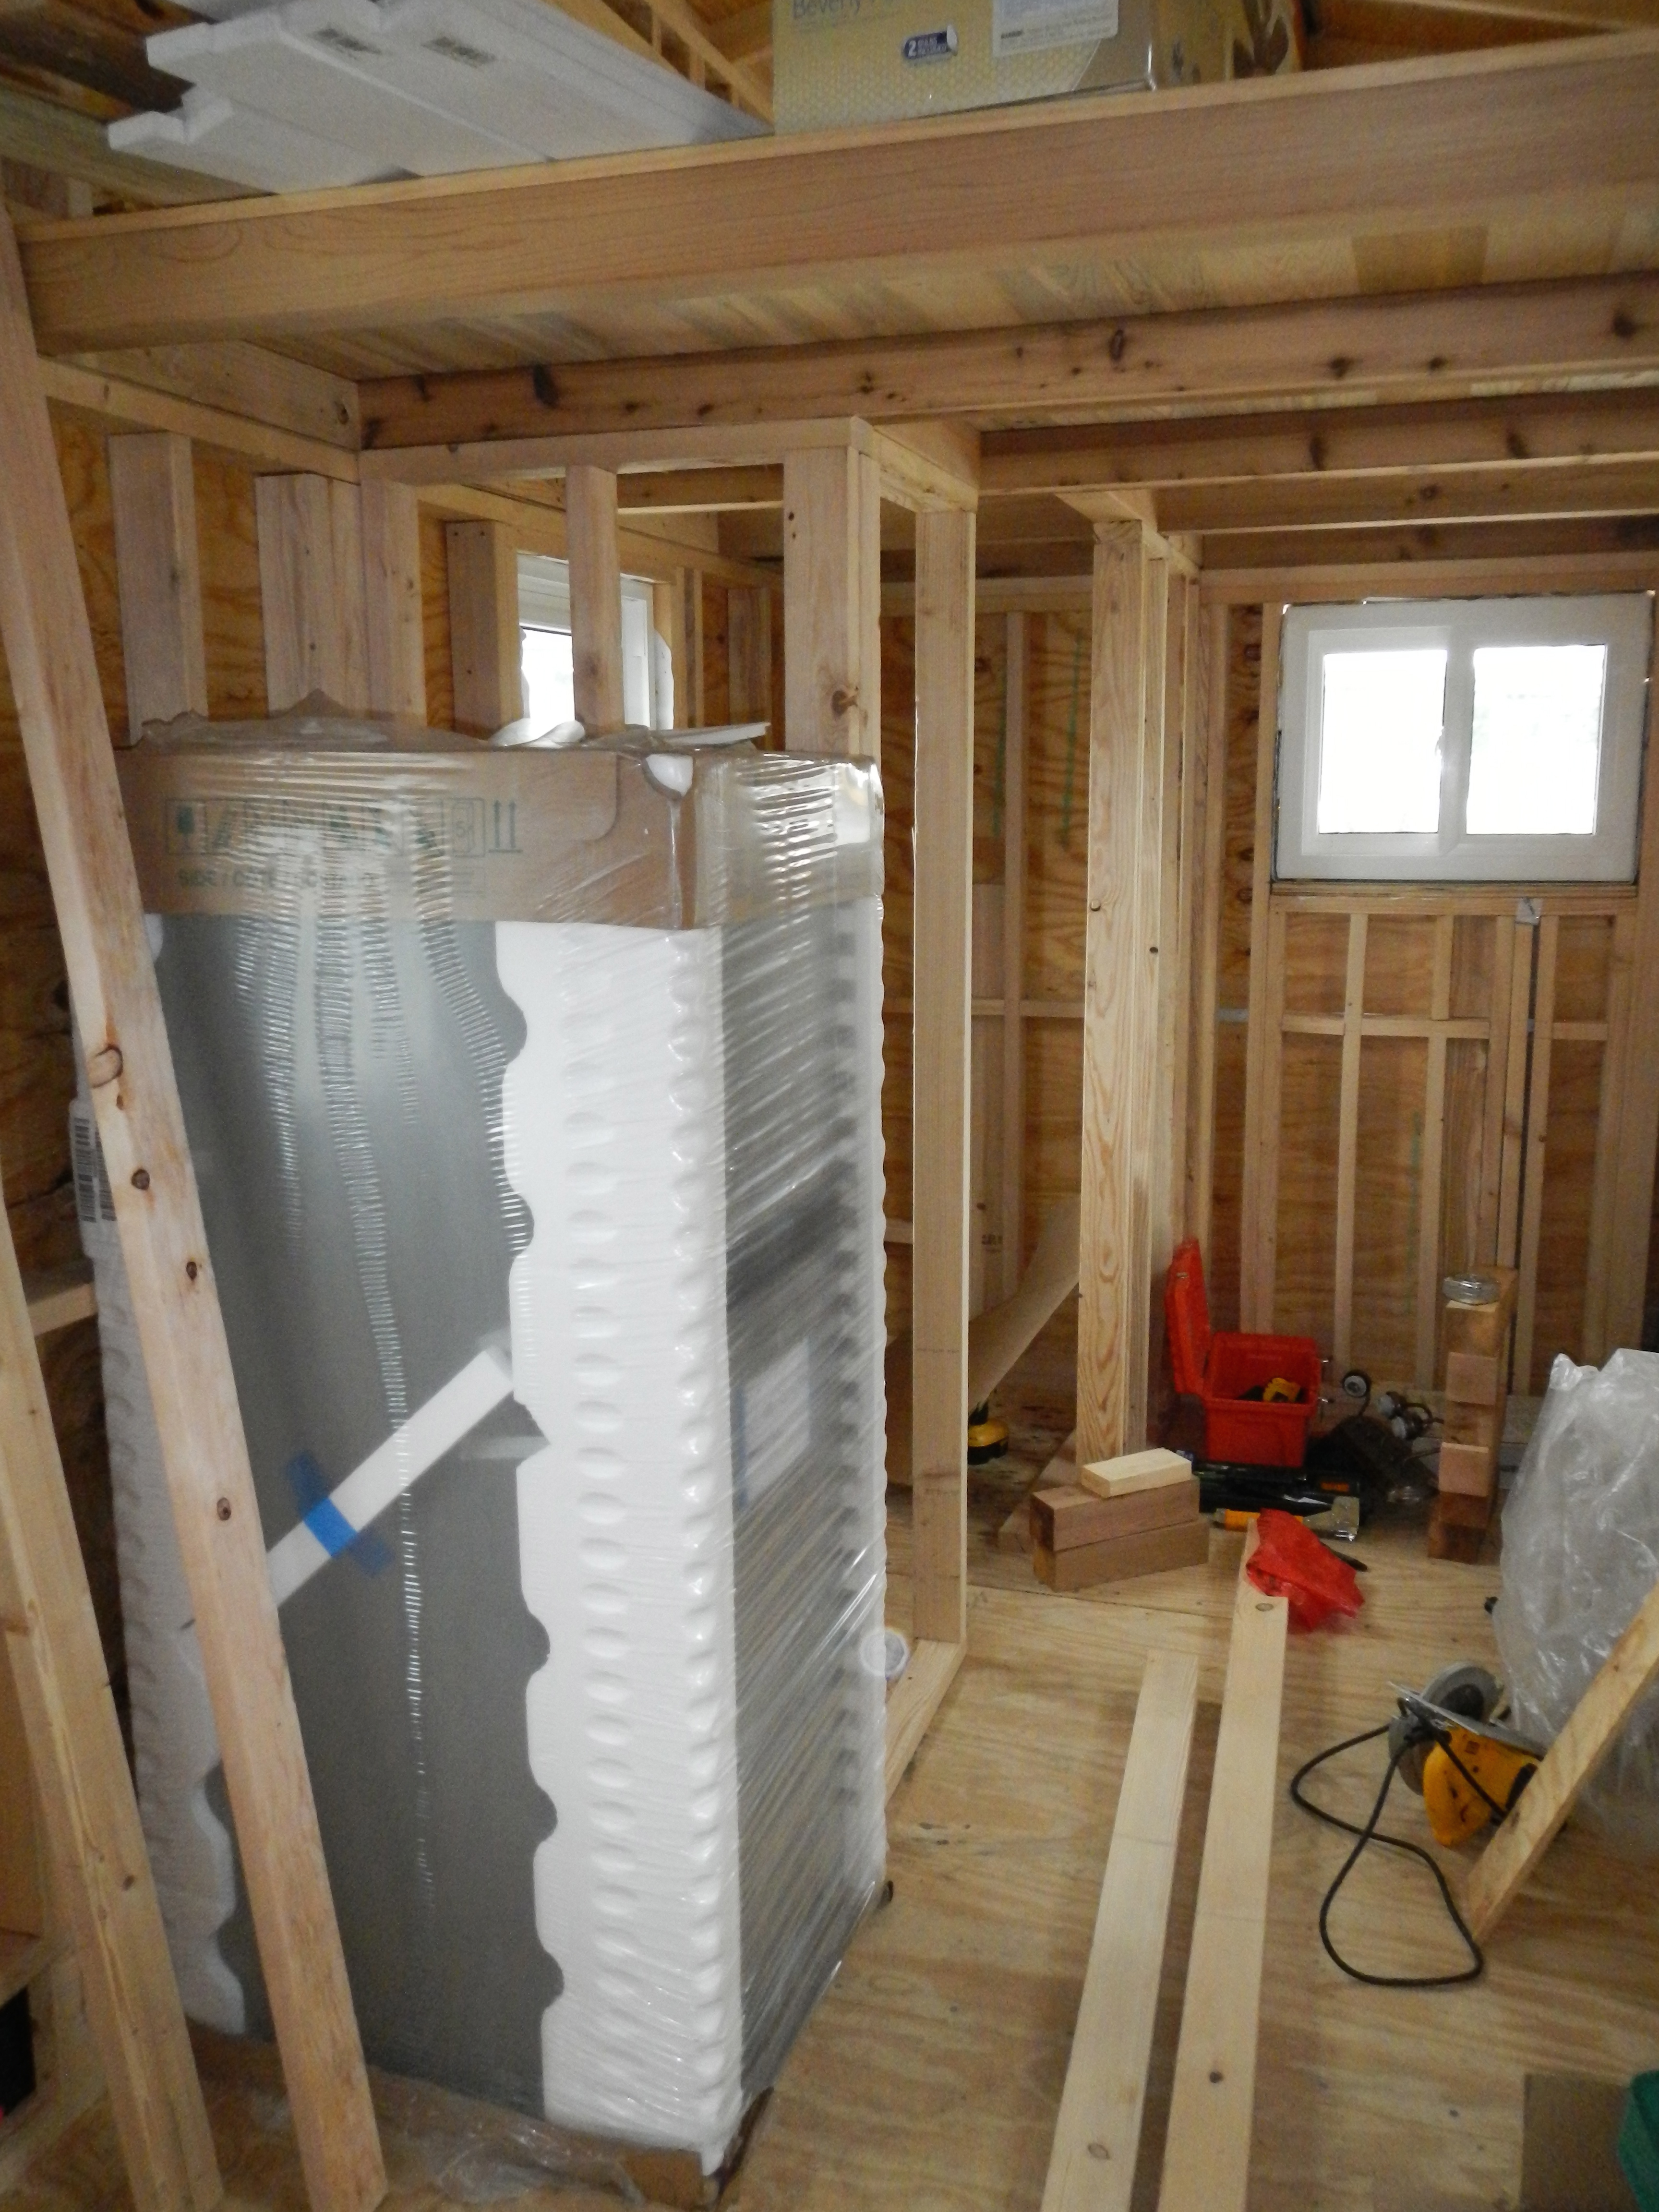
So these pictures show the inside and it includes the refrigerator that I ordered. Additionally at the back left corner is a wall that will be the one that the shower is nailed to and then I am finishing the other two bathroom walls for around the toilet. Once that is done it will be time for the contractors to do their magic.


Additionally, I got some old oak floor last year and last week I was able to plane the wood and the pictures below are what the wood looked like before. There were several layers of stain, sealant etc on it so I was not able to get all of it off but under all of that stuff it is some amazing wood.


I have also ordered my compost toilet and that will be in next week. It is one from Natureshead.net, take a look at the site. It is an interesting concept and with some training and time I think it will work out really well. Once I buy a 3 cubic foot bag of Peat Moss that should last me a year.
To all:
Well I got all the windows in, the door in and the roof on. There are still some things that have to be done to finalize the installation of the windows and door, (i.e. insulation, trim etc) but they are in place and secured and the soffits have to be installed for the roof but otherwise another stage is complete. Below are the latest pictures of the Tiny Home. The next step is to move it from school to the plumbers yard for plumbing, electrical and HVAC work.

 TOP PICTURE: Right side of house.. Bottom windows are from left – Great room, Kitchen (sink will be under) and the top window is the loft. BOTTOM PICTURE: Solid wood door. Right now it has only been sanded and stripped. I am planning on staining the outside and then using urethane on the outside and inside.

Front door view – Top window is in small loft.

Left side view – Bottom windows are from left – Bathroom, Great room and top window is in large loft.

Roof looking from front of house to back. As close to maroon as I could get.

Front of trailer – Window on bottom is for kitchen and top window is for my loft.

Look into my loft with the windows installed
To all:
I am sorry that I have not kept up with this blog as well as I should have. So the last I posted was about moving the Tiny home frame to my community college in Hastings, NE. Well that was done and it was kept inside. After the Christmas holidays were over I was able to get back to it. This semester has been very hectic and getting extra help to get it moving along has been a struggle. This construction program builds an 1800 square foot house each year, done by the first year students from bottom top and that is the focus not building a tiny home. So once we got back from break over Dec-Jan we had alot to do and I had to focus on that. Well in the last month or so a lot of progress has now been made on the tiny home because we got the big house completed and ready for auction this Wednesday. (This is a really awesome program – http://www.cccneb.edu/HastingsHouse/)
So here is the latest on the tiny home. The framing was completed of the four walls. Over spring break I picked up the wood for the loft floors which is also the ceiling for the areas below. This is a blue beetle pine (the wood that the beetles destroyed in Colorado in the last few years is being harvested, beautiful colors) and it was put in on top of the ceda 4×4 cross beams.

Underside of loft with cedar cross beams and blue beetle pine

I also extended both of the lofts out about 22 inches on either end of the house to give them more room. So now the big loft (my bedroom) is 11 feet long and the other loft (storage etc ) is 5 feet long.

Look of the house from the side

View of big loft from inside house

Top view of big loft
Then on top of the lofts the dormers were built. This is a straight up wall about 32 inches in height that allows for more moving room in the lofts and the addition of windows. I have placed 4 of the 11 windows in the house in the lofts. The large loft has three, two crank windows with one on either side of the loft in the dormer walls and the third is a slide at the head of the loft. The small loft has one window at the head.
Then once the dormers were built up we were at a height that was to tall to get out of the building that I was working in safely (the garage door was 12 feet tall and the house was about 11’9″ at this point so nothing more could go up. So we worked on the outside of the house. Sheathing was placed on the “bottom floor” and the windows were cut out and the then it was time to move the house outside.

Windows cut out and sheathing and tyvex
Once outside we have been able to put the rafters on and the sheathing for the roof and put on the roofing paper along with the Tyvex wrap around the house. We also got the facia board on (cedar) all along the roofline and it looks nice. The roof was ordered and it will be a metal roof and the color burgandy.
Then it came time for the windows. Currently the 7 windows on the bottom floor are in and calked and the top windows have not been cut out due to some weather we have experienced recently. The windows are white and the trim will be white pvc. I think that it will look great especially with the cedar siding and burgandy roof. Some of you may know this color combination. (LOL! Gig’em!)

Windows in and caulked bottom floor
We are expecting some bad weather the next few days so we shall see how the progress comes along. The roof is in and should be delivered tomorrow along with the threshold extension that I had to order for the front door. The door is one that I got in DC and went ahead and stripped it (four coats of paint on each side.. UGH!) and have now sanded it and cut it down to size.
I have a couple panes of glass that have to be replaced due to me, one on the door and one in a window. That will happen later. If the weather does not stay good for us to work on the roof then I will work on the inside and putting in the bathroom wall.
I currently have a shower and refrigerator in hand for the house and am working with professionals to make sure I get the right stove, split A/C mini unit and compost toilet.
I will try to update more often now that school is down to the last week. Thank you for being patient. I will now work on getting pictures in order of progress.
Howdy!!
I hope that everyone had a blessed and safe holiday season. Well the new semester is on going and the Tiny Home is getting attention. Over the holidays I was able to do some more thinking and get some aspects moving along. Since starting this semester I have been able to clean up several and I mean several mistakes I had made and am making the walls much better than before. Three walls are up and the fourth will hopefully be made next Monday. I brought up the door to the new location at Central Community College (CCC) and that will allow me to work that last wall with all the parts.
In doing all of my research on tiny homes I realize that most of them had catchy names. So I have come up with a name for the new residence, REVILLE! Some of you will know several meanings behind this name but mostly it is catchy. My mom even made me a really cool sign out of wood with the word wood burned in it for the front. I can not wait to display it.
Once the fourth wall is up and there is more progress in the look I will post some more pictures. My teachers here in shop are excited and it looks like it might even be able to be shown at the end of the semester when we auction off our school house project here on campus.
Until next time Stephani and Reville signing out!
To all:
I wanted to let you know I have not forgotten about the tiny house and my blog. After getting up the third wall I realized even more some concerns that I have for the continuation of building this house. As many of you know I have been taking construction courses at my community college this semester and am learning a lot. With that comes the desire to make sure that I do this all right and to the best of my abilities. My instructors have come to me and asked me if I want to work on the tiny house at the school. Well the location I have currently is not heated and I do not have access to lots of hands and professional guidance. So I said yes. With this will be a pause in work. The plan is to lift off the walls I have built and lay them on the trailer and then pull the trailer to Hastings, NE. We will then rework the issues I have now and finish framing out and roofing and siding the house and then due to the height of the garage doors we will build this on the ground and then lift, transport and place on the trailer where it will then be secured. I am excited about having licensed contractors and multiple extra hands along with HEAT to do this. This will also allow me to find to a licensed electrician and plumber in a larger town to help me with those areas. So I hope that when I leave the Hastings area all I have to do is interior or less. Thank you for all of your support everyone! I still see this being completed on time if not earlier now.
To all.. I did not get this update posted last week. My mom and I were able to put up the third wall of the tiny house. This is the wall that is closest to the towing vehicle. It is also the end where the kitchen stove and shower will be. There is one window in this wall also.
Sorry it has been so long. Things have been very busy for me with school and such. It has taken a lot more of my time than I thought it would. Well wall number two has been raised. I had the help of my mom and step-dad yesterday to put up the second long wall. There had to be some adjustments like needing to nail from the top because of lack of room when I had the second wall laid down due to the first wall being up. The next steps are to build the small “back” wall and the framework at the tow end for the storage “shed”. Here is a picture or two.. The walls and where the “shed” is going to go. 

Well the first wall is up. I had three other people come and help me and it went up. We got it up and realized I had flipped a sill board so had to undo it and then flip the board. This is a learning process at every step. Now I can work on the second long wall and hopefully use what lessons I learned from the first wall to make it better.
Well now it is about six hours later and after picking apples, watching a very exciting college football game (TAMU vs ARK) and working on my tiny home I now have the second wall almost ready to be put up. See pictures.

First wall up with second wall being built on sub floor

View of first wall up with second wall being built on sub floor.

Before raising wall today, Saturday.

Wall raised and put up support beams to hold it in place.

Another view of the first wall after being put in place. It is not secure yet. Need to get the other walls up to ensure that everything is in line.
Todays goal was to fix issues and finish out the right wall. I got going and was having some issues and I realized I needed a couple of things and then thought that a couple of other items would be nice to have. Well that meant a trip to Kearney (about 25 miles away) to Builders – Hardware/Lumber store. I got a couple of new toys – Power tools.. Ohhhhhhhh (Trying to do a Tim Allen thing). See first picture – New 10 Inch miter saw with wheeled stand. You will also see that there are many yellow and black boxes piling up around my project. DeWalt company see I am promoting your products!!
So after that trip it was time to put together the stand. After getting that done it was then time to go back and fix the error(s) that I made yesterday. I was able to get that done and then finish the entire wall with the horizontal boards and the windows are boxed out.
Now to find some strong people to help me lift it up on the threaded rods and secure it. My 37 lbs of my tie downs and strapping should be delivered tomorrow to my moms. That will allow me to secure the walls to the sub floor and trailer.

New Dewalt 10 inch Miter saw with rolling stand. I can not do the on the ground anymore.

DeWalt out the ying yang!

Right wall complete
